Wednesday, May 19, 2010

Song Bird "Birds of a Feather"

Hello Everyone,

I have got to get back to my blogging.  Things have been soo busy with kids and making lots and lots of kits.......

Ok-Here is my layout with the "Songbird" cart.  Just a back ground on what I am going to use the layout for.  My hubby does a volunteer job for the an organization raises "Wood Ducks".  I took pictures the last time we checked the boxes and they will go on here.

Paper used is "My Minds Eye"


I had to cute this image out 3 times to make the layering. I first cut in green and then in ivory and cut the bird and leaves off and then cut it in the really rust and cut out just the bird and distress in brown. 

I did the same on the branch and the bird cage and again for the flowers at the top of the pic.

This flower and love embellish was in the pack of paper. I just added ink, stickles and a corduroy brad.


Enjoy. Let me know if you have any questions. Thanks for looking.

Saturday, May 8, 2010

A few Father's Day Cards...

With Mother's Day tomorrow that means Father's Day is around the corner. First of all -We really need more Dad stuff on cartridges.
With my Basic Grey-Origins paper in hand I had to make this card.  I used Stamping the solution cartridge.


I used A Childs Year for this card and a saying that is really important to me.
For this card I used Beyond Birthdays. 
I love ribbon so I just used my ATG to attach the ribbon to the back for a little kick.

Have a great Mother's Day!

Friday, April 30, 2010

Happy Graduation!!

If you are coming from Everyday Cricut-Thank you and I would love for you to follow me.

Not coming from Everyday Cricut Blog and want to win prizes-click HERE

Need a graduation gift idea?


First of all the Card was made using Hello Kitty Greeting (Graduate Hello Kitty) cut at 3.5 in. and Beyond Birthdays for (You did it) cut at 1.5 inch. I distressed it with Tim Holtz "Black Soot" ink and stickles in a few places. I gave the tassel a 3D look using embroidery floss. Add a little ribbon and a pop dot under the graduation cap and your done. The paper is by SU
This is a gift card holder that was cut from Just Because at 3.5 in and the diploma was cut from Hello Kitty Greetings at 3 in. I just used the SU paper I used for the card for the background.

This is just a paint can. I covered with card stock that matches SU paper that I distressed using the same black ink. I used Locker Talk for the word graduation. 
The graduation cap was made by taking my Crop-a-dial to punch a whole in the center. I then cut the square with rounded corners from George at 5 in. and used my I-top to make the brad. And last but not least is the tassel. 
 This is exactly how I made the tassel.  I tied it off knoting it right under the band (two times).  I then cut about 1/4 inch above the knot.  As you can see by where I placed the scissors this is where I cut to make it the tassel.  For the black ribbon I just ran it up thru the floss and put a little glue inside to hold.
It is a little difficult to explain-so if you have any questions, please do not hesitate to email me directly.

Peace, Love & Happiness

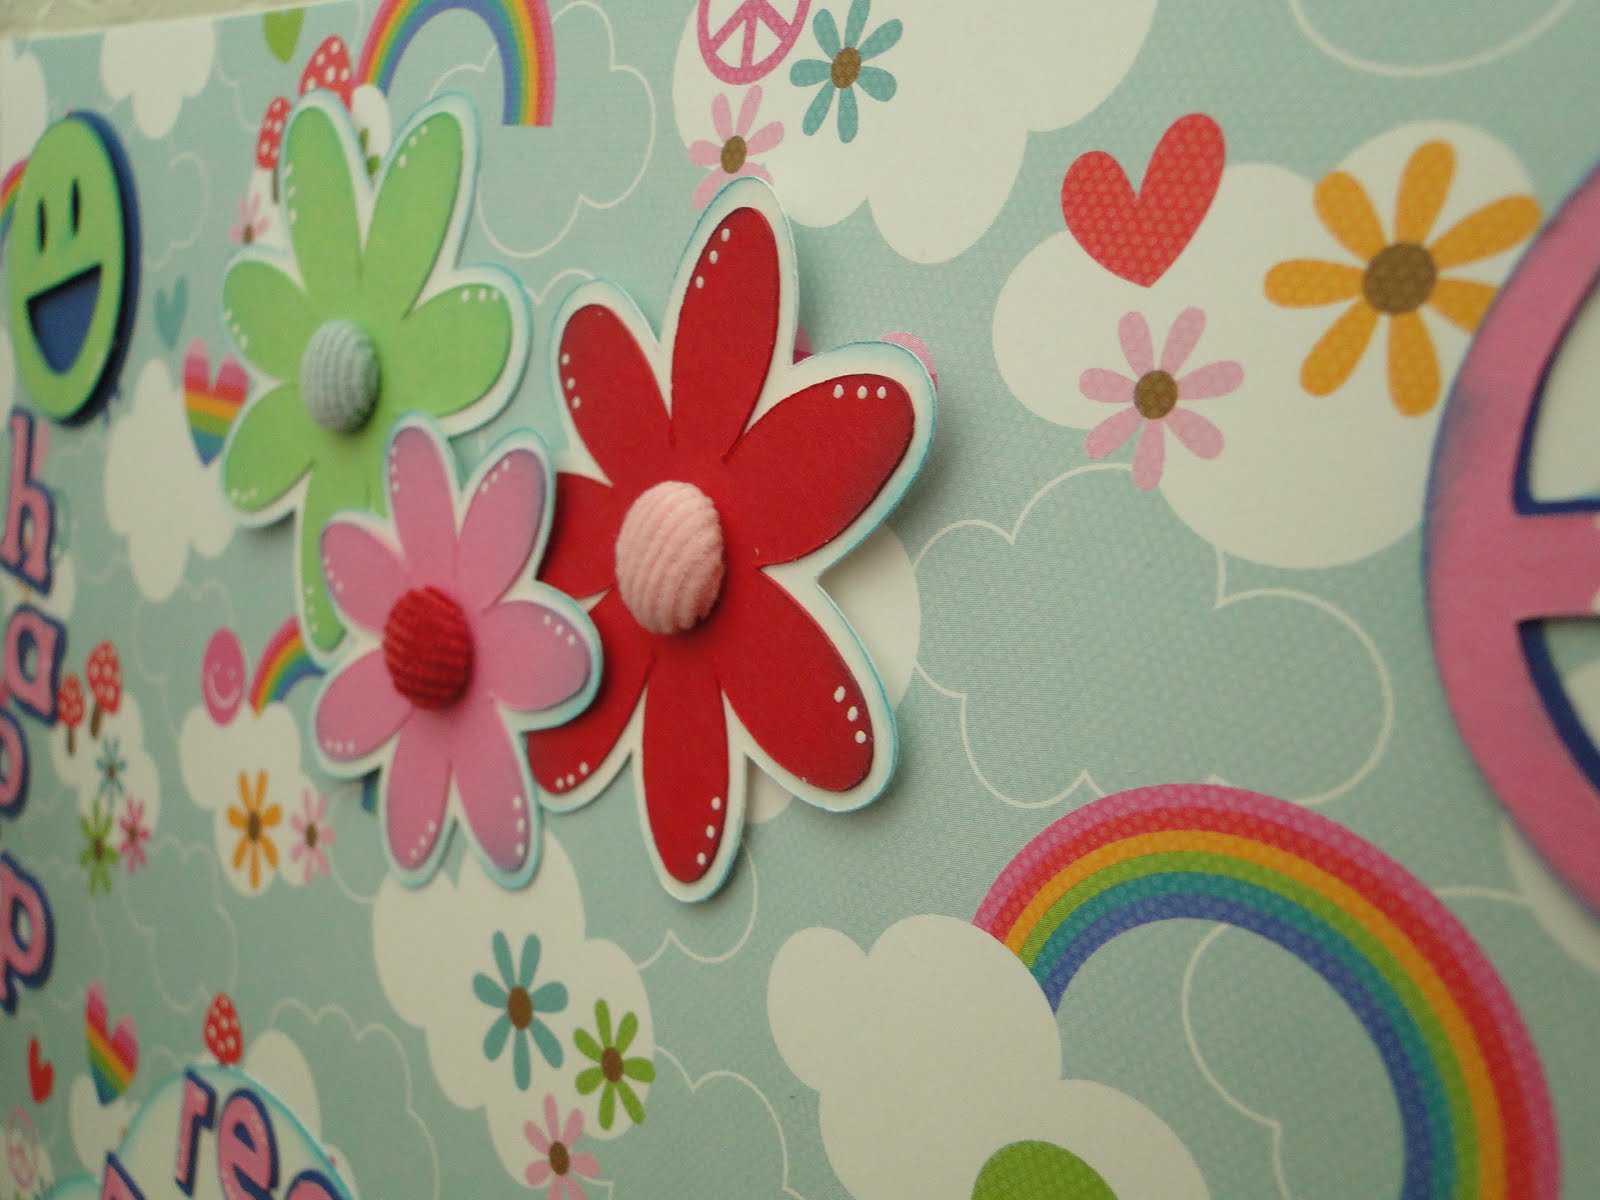
Ok-My daughter loves the peace sign.  When I found this Doodlebug paper I knew I had to have it.  Hope you like my layout.  Kind of busy but I like it.
The cartridges used were-Cars (Peace Sign's), Mickey & Friends (Cloud's and rainbow),  Hannah Montana (for happiness & 5 reasons I love you), Paisley (Girlie words & Flowers),  New Arrival (Love), Graphically Speaking (Smiley Face)

Can I tell you I LOVE MY GYPSY?  The lookup feature it awesome.  That is why I tend to use alot of carts.
The centers of the flowers are SU corduroy brads. Love them.

Happy National Scrapbooking Weekend!!!!

Thanks for looking

Friday, April 23, 2010

More Wall Art! I just love to Alter

Ok-Another piece of wall art.

The cartriges used were-Hannah Montana font (Daddy's Girl), Florishes from Accent Essentials(I did one normal and one on flip) and heart can be found on many cartridges and "Embrace" was cut from Lyrical Letters.

This is actually just a piece of wood that I bought at Ben Franklin for $1.45.  I covered the front with the pink paper.  The paper is Kioshi by Basic Grey and brown cardstock.  I inked the edges with brown.  And distressed most of the items with either brown or green.  I also painted the back.  And last but not least I used a Prima flower at the top with bling. 

(I found the quote on a picture at Target so I had to do it.)

Thanks for looking...  Email me with any questions..

Friday, April 16, 2010

Questions regarding Canvas!

First question-Where did I get the crocheted flowers?  No-I did not make them. (not a chance) I actually ordered them from SU last year and I am finally using them.  I do know someone that makes them and can do them in the color of your choice. They are 2/$1

Second question-One I missed in my directions.  After I decided the pattern I adhered the papers to a 12x12 piece of cardstock. (I was not sure if this was going to work so I did not put it directly on the canvas)  After I had the 12x12 covered I then trimmed about 1/8 an inch around the whole page and that allowed for the peek of the canvas.

For the adhesive I used-Scotch Adhesive.   I tried the ATG and it did not work very well.  After I glued I then turned the canvas face down and placed a book around the edges to apply pressure.

Let me know if you have any more questions.

Thursday, April 15, 2010

Wall Art-12x12 Canvas

Yes- Ladies this is a 12x12 Canvas.  I started with 2x2 pieces of paper and just covered the edges of one square with the next 2x2 square that I am using next.  I recommend that you start by just laying them out until you find the pattern that you like.  As far as the embellishments-well use what you want.  This paper is actually retired SU paper.  I just love this paper. Carts used were-Oh! A little of everything... (ha, ha)
I can't do anything unless I distress it.  So I distressed the edges of the canvas.  As always-let me know if you have any questions.  Enjoy!